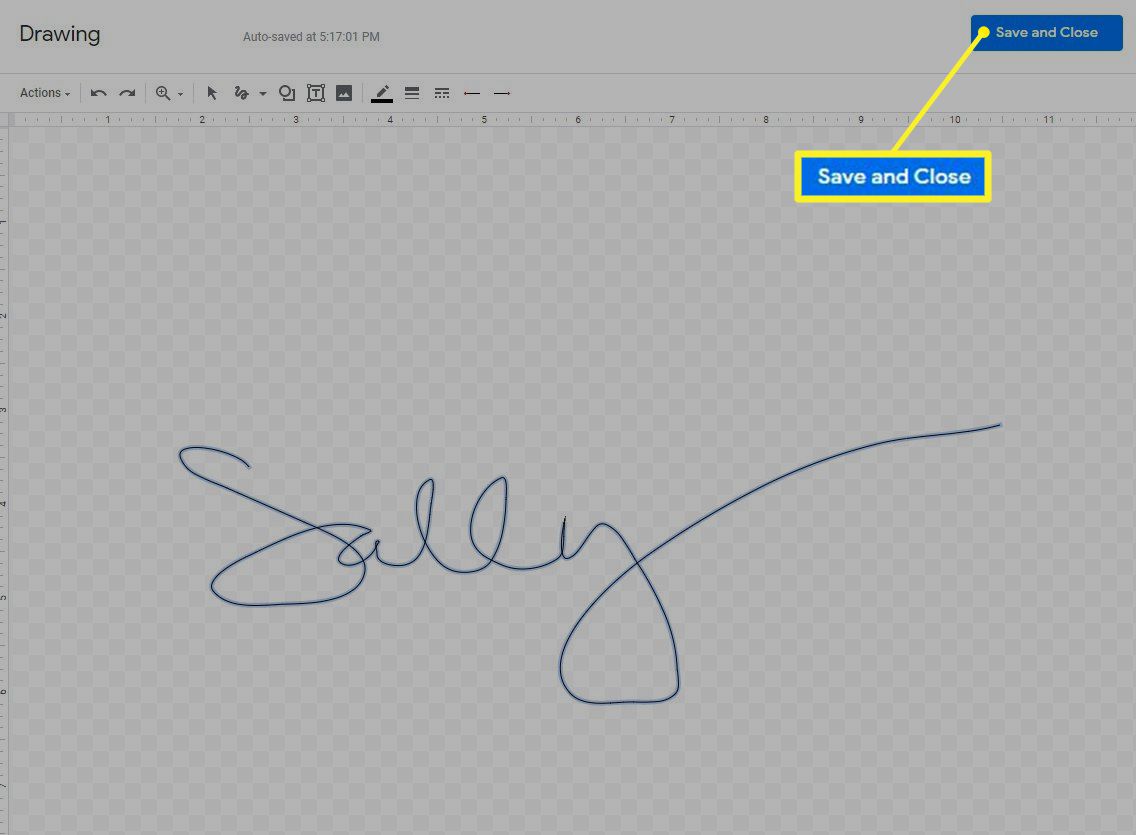
In today’s digital world, electronic signatures have become increasingly popular. They offer a convenient and efficient way to sign documents without the need for printing, scanning, and mailing. Google Docs is one of the most widely used word processing applications, and it provides users with the ability to add signatures to their documents. In this blog post, we will walk you through the process of adding a signature to a Google Doc.
Create Your Signature
The first step is to create your digital signature. You can do this in a number of ways. For example, you can draw your signature on a piece of paper and scan it, or you can use a digital signature software. There are also online tools that allow you to create a signature by typing your name and selecting a font. Once you have created your signature, save it as an image file.
Open Your Google Doc
Open the Google Doc that you want to add the signature to. If you haven’t created the document yet, create a new one.
Insert the Image
Click on the location where you want to insert your signature. Then, go to the “Insert” menu and select “Image.” Choose the image file of your signature that you saved in the first step. You can resize the signature to fit the document if necessary.
Position the Signature
Once you have inserted the image, position it in the document where you want it to appear. You can move it around by clicking and dragging it with your mouse.
Add a Caption (Optional)
If you want to add a caption to your signature, click on the image and select “Insert caption.” Type in the text for your caption and click “Apply.”
Save and Share
Once you have added your signature, save your document. You can now share the document with others who will be able to see your signature.
Conclusion
Adding a signature to a Google Doc is a simple process that can be completed in just a few steps. By following the steps outlined in this blog post, you can easily add your digital signature to your documents, making the signing process more efficient and convenient.
Zeeshan is a seasoned tech expert and senior writer at Teckrr.com. With over 10 years of experience in tech journalism, he brings insightful analysis and up-to-date information on the latest tech trends. Zeeshan holds a MBA degree from Business and Tech University and is known for his engaging writing style and ability to demystify complex tech topics. Stay connected with the cutting-edge of technology through his expert lens.

Leave a Reply