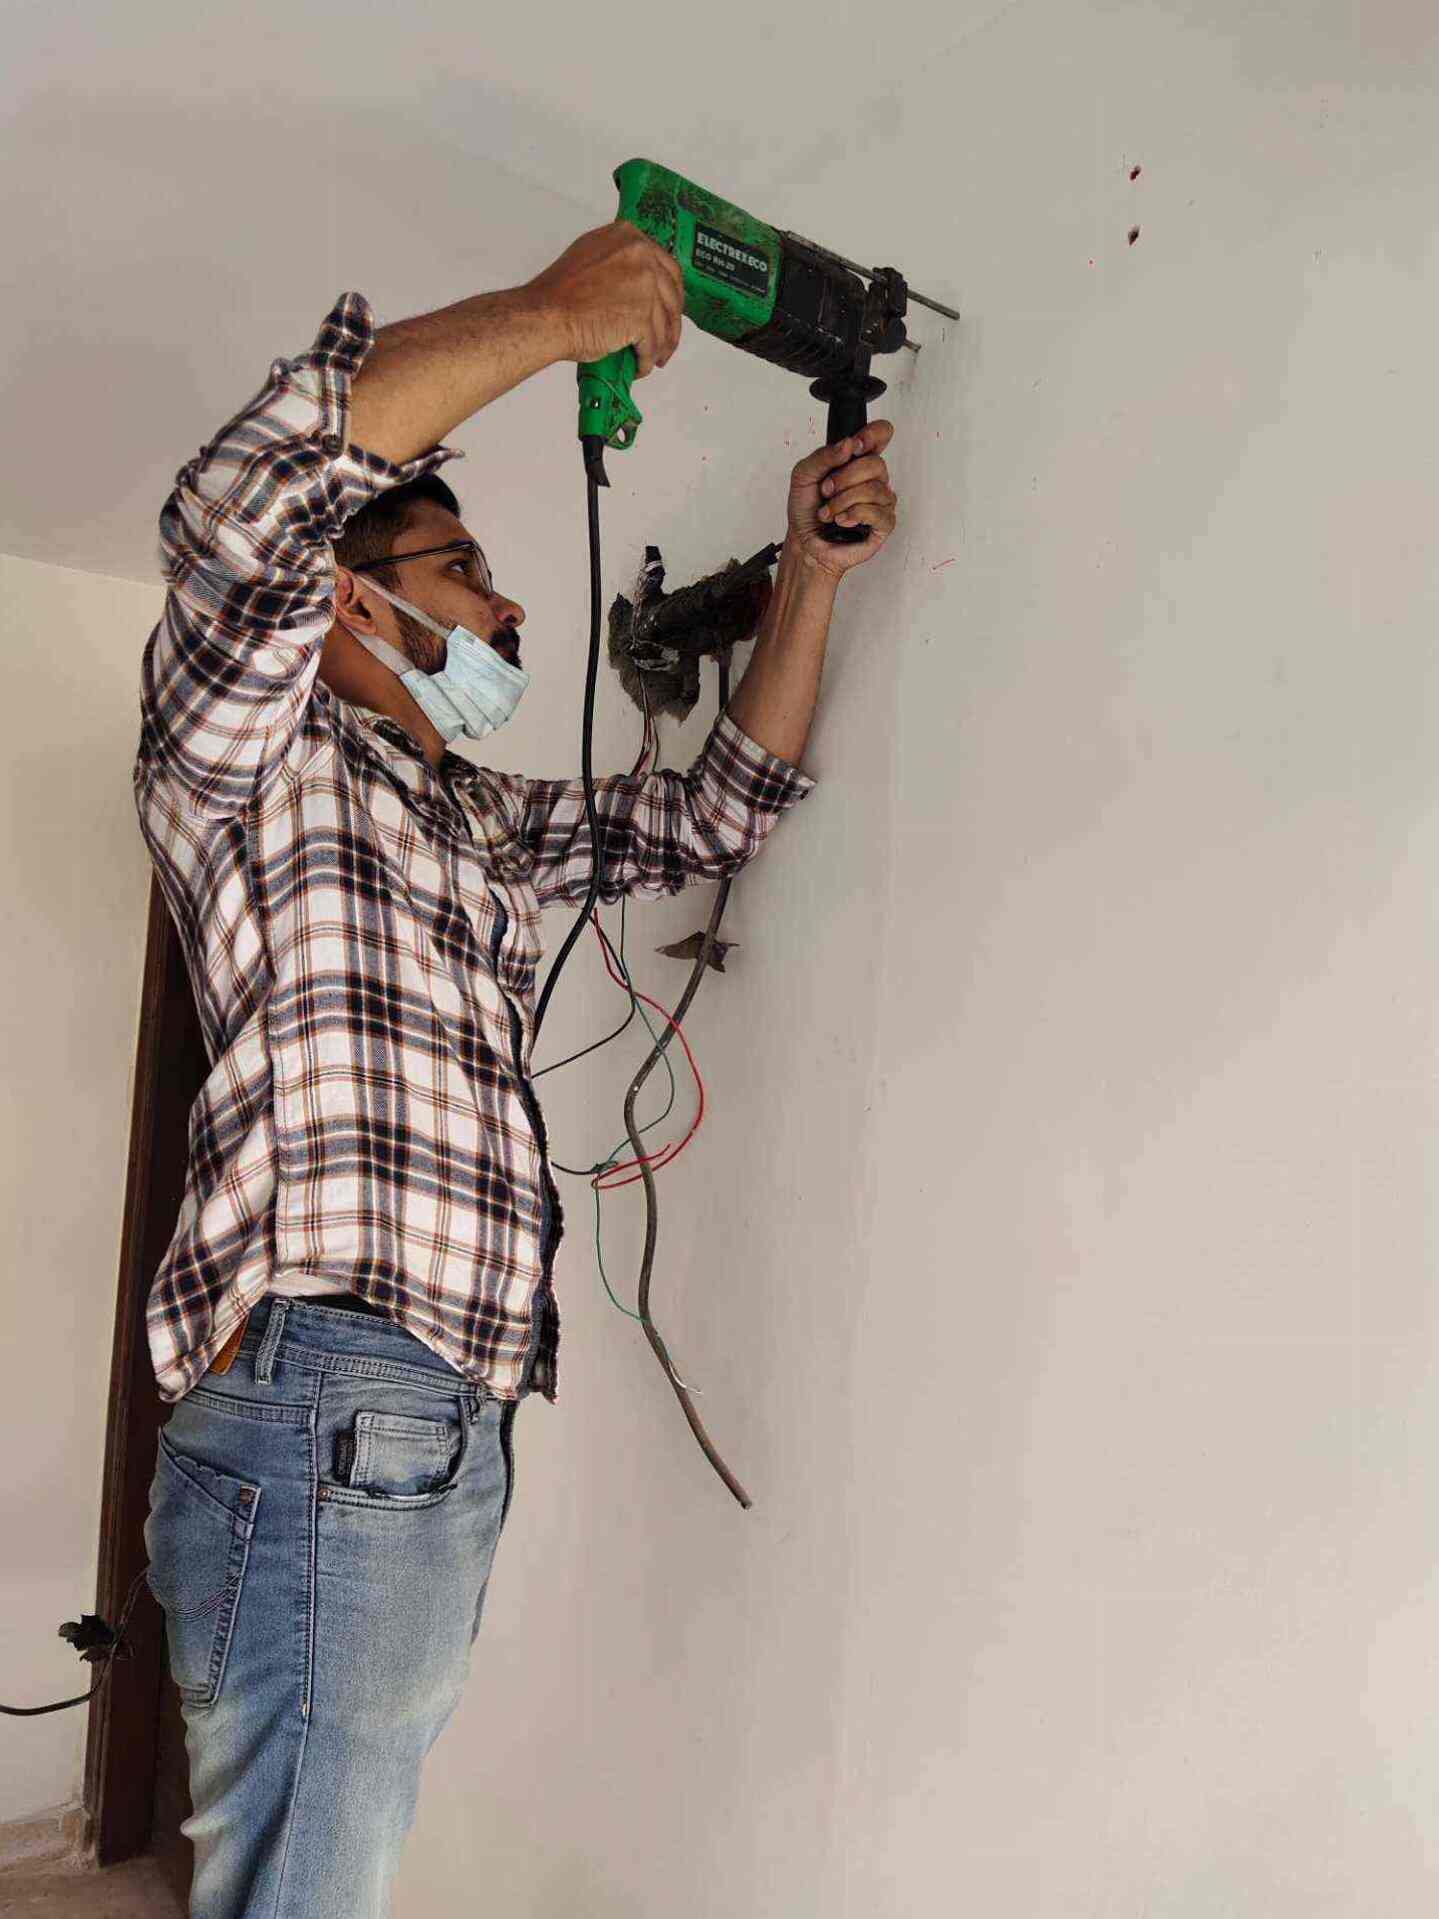
When the time comes to retire an old wall-mounted air conditioner, one glaring challenge remains the gaping hole left behind in your wall. Addressing this gap is paramount, not only for aesthetics but also for energy efficiency and indoor comfort. As reported in a recent energy efficiency study, holes and gaps can contribute significantly to energy loss. Let’s explore a systematic approach to tackling this common household issue.
Understanding the Importance of a Proper Seal
Beyond the immediate visual concern, holes left by air conditioners can be entry points for pests, reduce the insulation effectiveness of the wall, and contribute to energy inefficiency. Research on household energy leaks highlights just how much of an impact such seemingly minor gaps can have over time.
Gathering the Right Tools and Materials
Preparation is the key to any successful DIY project. Here’s a list to get you started:
- Safety glasses and gloves
- Tape measure
- Pencil or chalk
- Drywall or plywood (depending on wall material)
- Suitable saw (jigsaw, drywall saw, etc.)
- Drywall screws
- Screwdriver or drill
- Joint compound or wood filler
- Putty knife
- Sandpaper
- Paint or wallpaper
Step-by-Step Patching Process
1. Prioritize Safety: Ensure you wear safety glasses and gloves. This not only protects against dust but also potential splinters or sharp edges.
2. Precision Measurements:
- Measure the dimensions of the hole, and add a couple of inches to each side for overlap.
- Mark these measurements on your patch material.
3. Crafting the Patch:
- With your saw, cut the patch material following the dimensions marked.
4. Test the Fit:
- Place it over the hole to ensure a snug fit. If necessary, make minor trims.
5. Attachment:
- Using drywall screws, secure the patch onto the wall, ensuring it’s flush with the surrounding area. For additional insights on this step, refer to this comprehensive guide on drywall installation.
6. Perfecting the Surface:
- For drywall: Apply joint compound to cover seams, using a putty knife for a smooth finish.
- For plywood: Employ wood filler for gaps, smoothing out using the putty knife.
7. Sand and Paint:
- Once dried, sand the area to perfection and paint or wallpaper to match your existing wall. For tips on achieving a seamless paint job, consider this expert painting guide.
Concluding Thoughts
While the idea of patching a sizeable hole in your wall might seem daunting, with the right approach, tools, and a bit of patience, the task is entirely achievable. It’s not just about aesthetics; it’s about ensuring your home remains an energy-efficient sanctuary.
FAQ Corner
Q: Can plasterboard be an alternative to drywall or plywood?
A: Absolutely! Plasterboard, similar to drywall, is an excellent choice for such repairs, especially for interior walls. Refer to a comparison study of wall materials to find the best fit for your needs.
Q: How long should I ideally wait post-patching before painting over the area?
A: Joint compounds or wood fillers typically require up to 24 hours to dry completely. However, always check product-specific recommendations.
Q: My hole is substantially large, should I consider professional help?
A: For exceptionally large gaps, especially if structural elements are exposed, it might be wise to consult with a professional to ensure the integrity and safety of the repair.
Zeeshan is a seasoned tech expert and senior writer at Teckrr.com. With over 10 years of experience in tech journalism, he brings insightful analysis and up-to-date information on the latest tech trends. Zeeshan holds a MBA degree from Business and Tech University and is known for his engaging writing style and ability to demystify complex tech topics. Stay connected with the cutting-edge of technology through his expert lens.

Leave a Reply