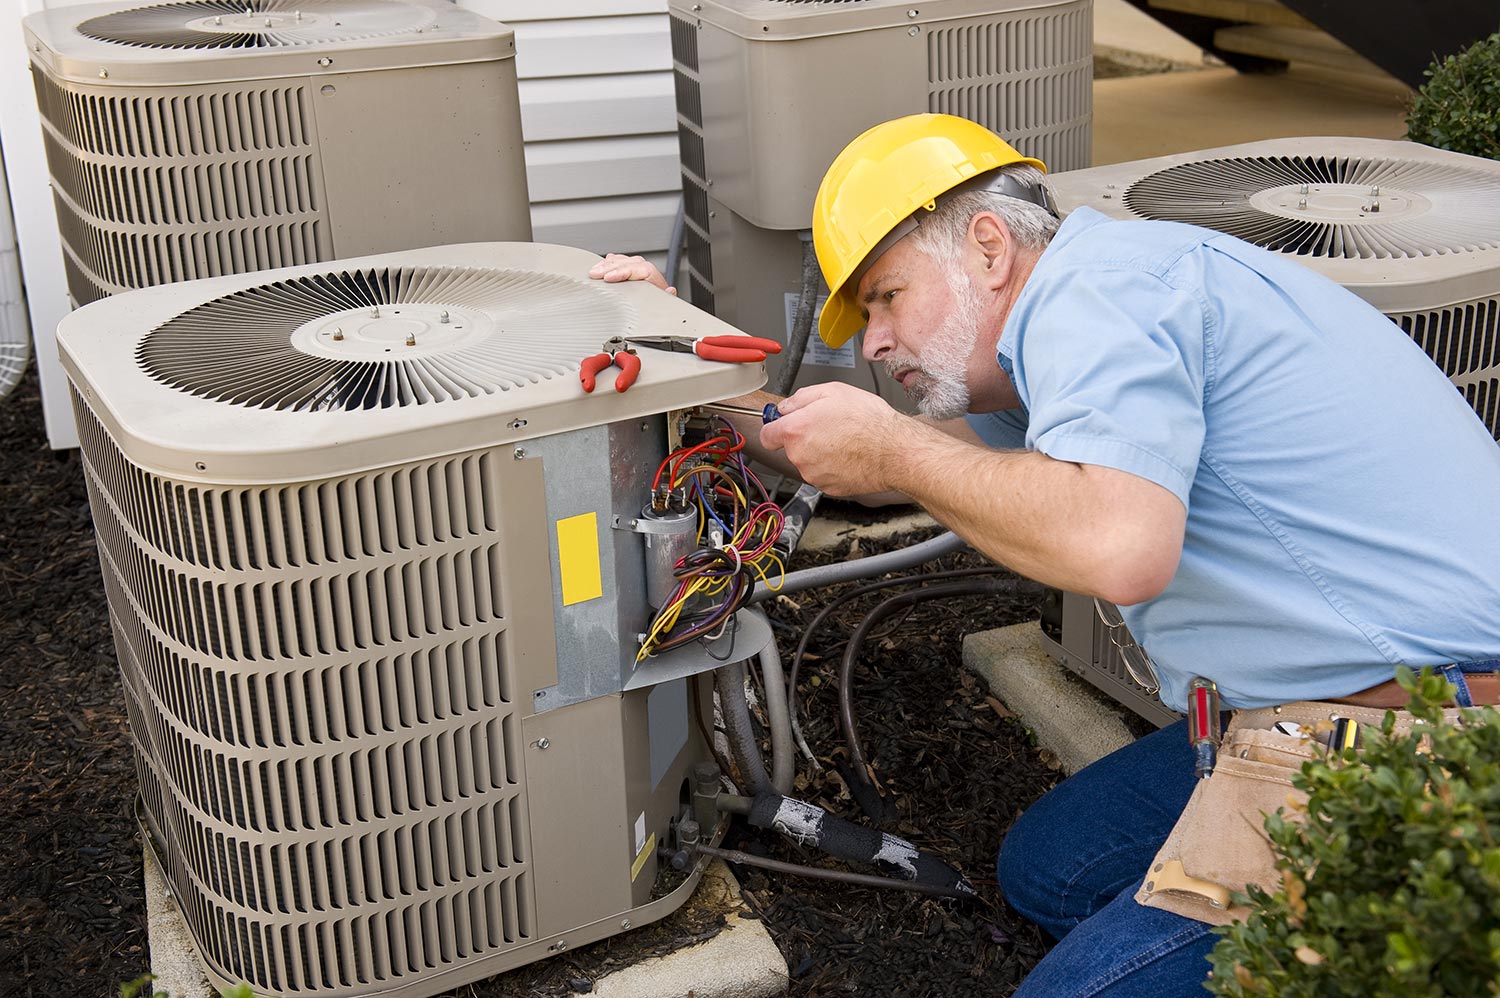
Air conditioning systems rely on various components to function efficiently, and one such essential element is the 3-wire AC pressure switch. This device monitors the pressure levels of the refrigerant and helps regulate the system’s performance. In this guide, we will walk you through the process of testing a 3-wire AC pressure switch to ensure that your cooling system is running smoothly.
Understanding the Role of a 3-Wire AC Pressure Switch
The 3-wire AC pressure switch serves as a safeguard for your air conditioning system. It detects changes in refrigerant pressure and communicates with the AC control unit to maintain the ideal operating conditions. This prevents issues such as compressor damage due to high or low pressure levels.
Why Testing is Important
Regularly testing your 3-wire AC pressure switch is vital to ensure the proper functioning of your air conditioning system. A malfunctioning pressure switch can lead to inefficient cooling, increased energy consumption, and potential damage to components. Testing helps you identify and address any issues before they escalate.
Testing the 3-Wire AC Pressure Switch: Step-by-Step
Step 1: Safety First Before you start testing, ensure your AC system is turned off and has been idle for a while. This prevents any sudden pressure changes that could affect your readings. Safety goggles and gloves are recommended to protect against potential refrigerant leaks.
Step 2: Locate the Pressure Switch Identify the location of the 3-wire AC pressure switch. It is usually near the AC compressor or along the refrigerant lines. Consult your system’s manual or seek professional advice if needed.
Step 3: Disconnect Wires Gently disconnect the electrical wires from the pressure switch terminals. Take note of which wire goes where for reconnection later.
Step 4: Set Up Your Multimeter Set your multimeter to the continuity or resistance mode. This mode allows you to check if the circuit is complete between two points.
Step 5: Test for Continuity Place one multimeter probe on the power wire connection and the other on the signal wire connection of the pressure switch. If the pressure is within the normal range, the circuit should have continuity. You will see a low resistance reading or hear a beep indicating continuity.
Step 6: Apply Pressure If you have access to a controlled source of pressure, gently apply pressure to the switch while observing the multimeter. The continuity should remain consistent. Any interruption in continuity could indicate a faulty pressure switch.
Step 7: Reconnect Wires After testing, reconnect the wires to their respective terminals. Make sure they are securely attached.
Conclusion: Keeping Your AC System in Check
Testing your 3-wire AC pressure switch is a proactive step in ensuring the efficiency and longevity of your air conditioning system. By regularly performing this simple test, you can catch potential issues early and prevent major disruptions. If you encounter any irregularities during testing or suspect a malfunction, it’s best to consult a professional HVAC technician
FAQs
1. Can I test the pressure switch if I don’t have a multimeter?
A multimeter is a useful tool for testing, but without one, it’s challenging to accurately assess the pressure switch’s condition. Consider borrowing or purchasing a multimeter for accurate results.
2. What if I find a problem with the pressure switch?
If you detect any issues during testing or suspect a malfunction, it’s recommended to seek the expertise of a professional HVAC technician. They can diagnose the problem accurately and recommend the appropriate solution.
3. How often should I test the pressure switch?
Perform a pressure switch test at least once a year as part of your air conditioning system’s regular maintenance routine. If you notice any unusual behavior or changes in your system’s performance, consider testing it sooner.
Zeeshan is a seasoned tech expert and senior writer at Teckrr.com. With over 10 years of experience in tech journalism, he brings insightful analysis and up-to-date information on the latest tech trends. Zeeshan holds a MBA degree from Business and Tech University and is known for his engaging writing style and ability to demystify complex tech topics. Stay connected with the cutting-edge of technology through his expert lens.

Leave a Reply