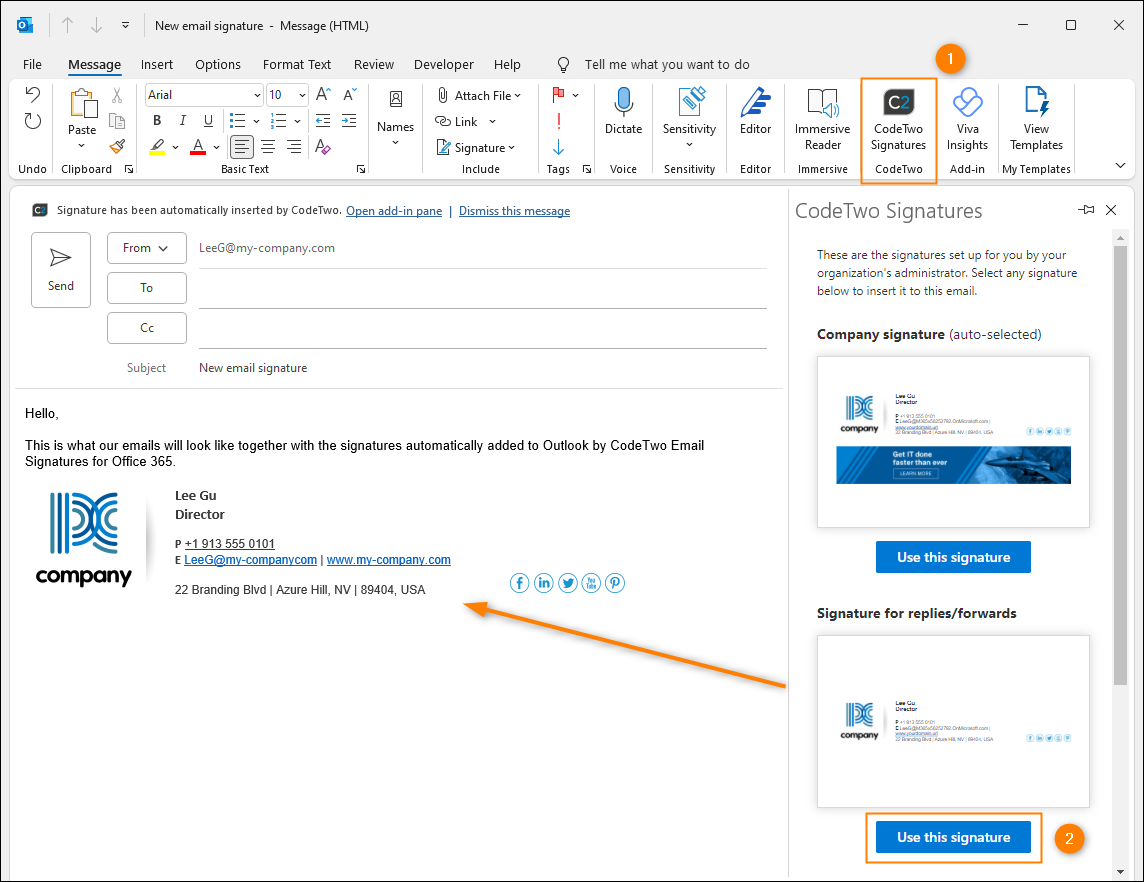
An email signature is a great way to add a professional touch to your emails. It is an essential component of your email communication, as it not only provides the recipient with your contact information but also helps to create a lasting impression. In this post, we will guide you through the process of creating an email signature in Outlook.
How To Make An Email Signature In Outlook?
Step 1: Open Outlook and go to the “File” menu
To create an email signature in Outlook, you must first open the application and navigate to the “File” menu.
Step 2: Click on “Options”
Once you have opened the “File” menu, click on the “Options” button.
Step 3: Go to the “Mail” tab
In the Outlook Options window, click on the “Mail” tab.
Step 4: Click on “Signatures”
Under the “Compose messages” section, click on the “Signatures” button.
Step 5: Create a new signature
To create a new email signature, click on the “New” button.
Step 6: Enter a name for your signature
In the “New Signature” window, enter a name for your signature.
Step 7: Enter your contact information
In the text box under “Edit signature,” enter your contact information. This can include your name, job title, company name, phone number, email address, and website.
Step 8: Add an image
To add an image to your signature, click on the “Picture” icon and browse for the image you want to use.
Step 9: Format your signature
You can format your signature by changing the font, font size, color, and alignment.
Step 10: Save your signature
Once you have created your signature, click on the “Save” button to save it.
Step 11: Assign your signature to an email account
Under “Choose default signature,” select the email account you want to assign your signature to. You can also choose a default signature for new messages and replies/forwards.
Step 12: Click “OK”
Click “OK” to save your changes and exit the “Options” window.
Congratulations! You have successfully created an email signature in Outlook.
Tips for creating an effective email signature
- Keep it simple and concise. Your signature should be easy to read and should not include too much information.
- Include your name, job title, and company name. This helps to establish your identity and credibility.
- Use a professional font and avoid using too many colors.
- Add your social media links. This helps to connect with your recipients on other platforms.
- Update your signature regularly. Make sure to update your contact information and other details as needed.
Conclusion
Creating an email signature in Outlook is a simple process that can help to enhance your professional image. Follow the steps outlined above and use the tips provided to create an effective and professional signature.
Zeeshan is a seasoned tech expert and senior writer at Teckrr.com. With over 10 years of experience in tech journalism, he brings insightful analysis and up-to-date information on the latest tech trends. Zeeshan holds a MBA degree from Business and Tech University and is known for his engaging writing style and ability to demystify complex tech topics. Stay connected with the cutting-edge of technology through his expert lens.

Leave a Reply